As PC hardware evolves and modern games keep raising the bar for visuals, it’s getting harder for “default” PC presets to deliver that sweet spot between sharp image quality and consistently smooth frame rates. Resident Evil Requiem is a brand-new AAA release, so you’d normally expect some compromise somewhere. Interestingly, Capcom has been positioning the game as one that should run well across a wide range of PC builds, and it’s clearly trying to avoid the kind of lingering performance conversation that followed Monster Hunter Wilds.
This guide is built around a straightforward goal: help you understand how Resident Evil Requiem performs on a high-end test system, how its key graphics settings behave, and how to approach optimized settings so you can balance visuals and FPS on your own rig. The idea isn’t to tell you to blindly copy a preset, but to explain what matters, what doesn’t, and where you’ll get the most real-world performance back for the least visual sacrifice.
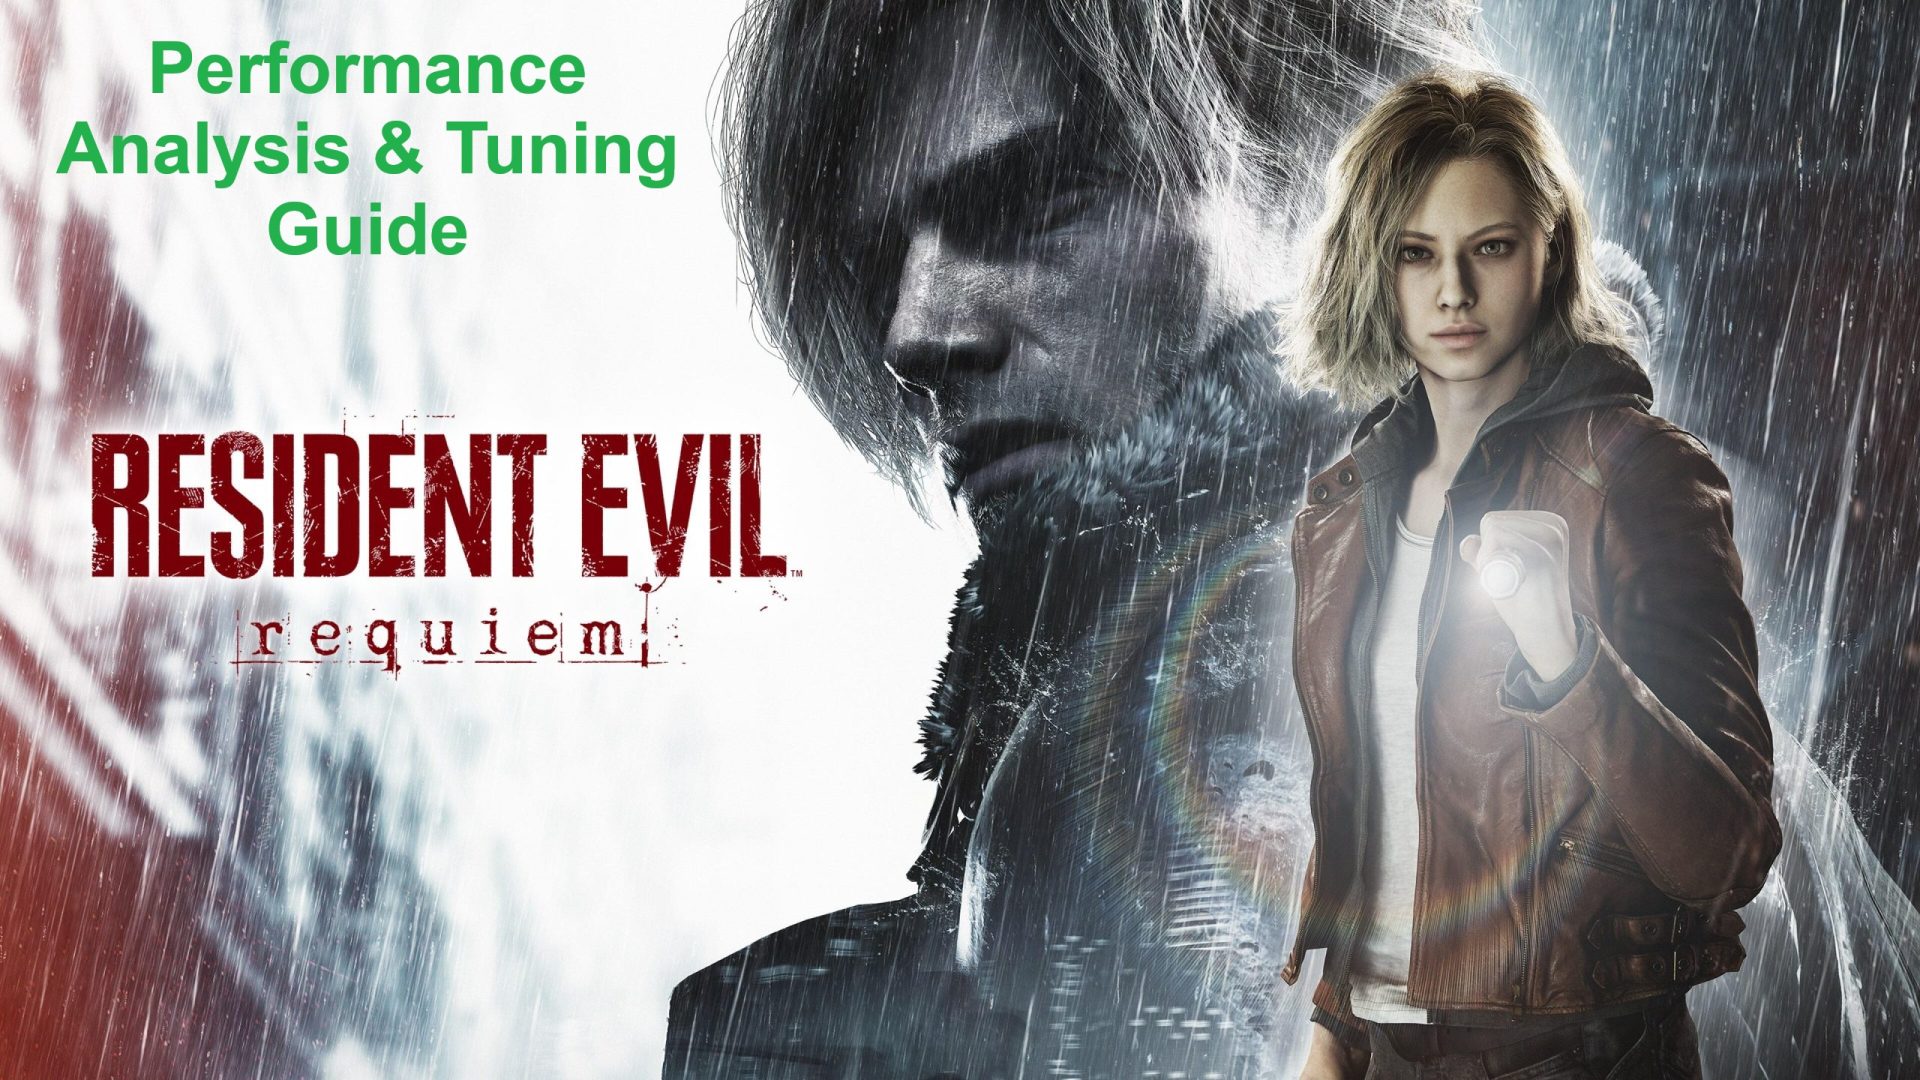
Resident Evil Requiem launches February 27, 2026 for PC (Steam and Epic Games Store), PlayStation 5, Xbox Series X|S, and Nintendo Switch 2. It’s the ninth mainline entry in the survival horror franchise and uses Capcom’s RE Engine. The experience is built around two protagonists: veteran agent Leon S. Kennedy and newcomer Grace Ashcroft, an FBI technical analyst. The game alternates between horror-leaning segments with Grace and more action-driven sections with Leon, sending both into a nightmare surrounding the ruins of a devastated Raccoon City.
PC system requirements at a glance
Capcom’s published requirements don’t look extreme for a modern AAA release, especially considering the scope and visual ambition typical of the series.
Minimum target
CPU: Intel Core i5-8500 or AMD Ryzen 5 3500
GPU: NVIDIA GeForce GTX 1660 6GB or AMD Radeon RX 5500 XT 8GB
RAM: 16GB
Storage: SSD required
Performance target: 1080p at 30 FPS using upscaling from 640p
Recommended target
CPU: Intel Core i7-8700 or AMD Ryzen 5 5500
GPU: NVIDIA GeForce RTX 2060 SUPER 8GB or AMD Radeon RX 6600 8GB
RAM: 16GB
Performance target: 1080p at 60 FPS using upscaling from 720p
One detail worth calling out is storage. An SSD is required, and while the official disk space wasn’t clearly listed in the provided info, a pre-release build occupied roughly 74GB on the test system’s SSD. Expect that number to move as patches and final assets land, but it’s a helpful reference for planning.
Early performance behavior: shader compilation and stutter check
On first launch, Resident Evil Requiem performs a Pipeline State Object (PSO) or shader compilation step. On the test CPU (Intel Core i7-14700K), it finished in under a minute. That’s important, because shader compilation stutter is one of the most common reasons PC ports feel “rough” even on powerful GPUs. In early playtime, the shader compilation step appeared effective: there were no obvious shader-related stutters.
Just as important, the game also didn’t show noticeable traversal hitching during the first few hours. That’s a welcome change, especially for players who remember that Resident Evil 4 had traversal-related hitches in certain situations. As always, system limitations can still create problems on lower-end rigs, particularly if RAM or VRAM is tight, but early signs point to solid stability.
The game also runs a short performance measurement when you first boot it, then prompts you to choose between a Quality mode and a Performance mode. That’s a console-style approach and a bit unusual on PC, where granular tweaking is usually the whole point. The best advice here is simple: don’t treat the game’s default recommendation as the final word. Use it as a starting point, then tune the settings manually based on what you value most (steady frame rate, sharper image, cleaner lighting, or maximum effects).
A quick note on presentation: Cutscenes can look extremely photorealistic, particularly when path tracing is enabled, and Capcom clearly wants the game to be a showcase when you have the hardware to push it.
Graphics settings overview: what you can actually control
Resident Evil Requiem includes a deep graphics menu with multiple sections and sub-sections. Broadly, you’ll find:
Display options
Standard controls such as display mode, brightness, resolution behavior, VSync, HDR, and related output controls.
Image options
This area is split into multiple layers:
Shared settings, covering items like resolution behavior, motion blur, and ray tracing.
Quality settings, which let you change grouped presets such as overall graphics quality, upscaling quality, and lighting/shadow quality.
Advanced quality settings, where you can adjust the individual components that make up those broader categories.
That structure is a big deal because it means you can start with a coarse preset, then surgically target the most expensive settings. It’s often the fastest way to turn a “nearly smooth” experience into a consistently smooth one without making the game look noticeably worse.
Test system used for evaluation
The comparisons referenced in the provided content were made under GPU-limited conditions at 1440p (with one exception noted in the original material). The relevant test specs were:
CPU: Intel Core i7-14700K
RAM: 32GB DDR5-7000 CL34
Storage: 2TB PCIe 4.0 NVMe SSD
GPU: NVIDIA GeForce RTX 4090 24GB
OS: Windows 11 25H2
All drivers, BIOS, firmware, and OS updates applied prior to testing
A reminder that matters for anyone copying “optimized settings” from the internet: if you’re not GPU-limited, lowering GPU-heavy settings won’t magically improve performance. If your bottleneck is CPU, system memory, VRAM capacity, storage performance, or background processes, you may need a different adjustment strategy.
Key graphics settings discussed so far
Motion Blur
Resident Evil Requiem’s motion blur description indicates it’s used in cutscenes and certain moments. This is almost entirely preference-based, but many PC players disable it by default for a cleaner, sharper look during camera movement. If you’re aiming for clarity and responsiveness, turning motion blur off is an easy recommendation, and it typically doesn’t come with any meaningful downside unless you specifically like the cinematic effect.
Ray Tracing (including path tracing behavior)
Ray tracing in Resident Evil Requiem governs whether the game uses real-time ray-traced effects such as reflections and global illumination, and it can extend into path tracing for even more accurate lighting. Visually, this is one of the biggest “wow factor” upgrades you can enable, especially in scenes where realistic light bounce, shadowing, and reflective materials dramatically change the mood.
The tradeoff is that ray tracing and path tracing are usually among the most performance-expensive features in any modern game. If you want higher FPS, this is commonly the first major lever to pull. If you want maximum visual fidelity and have the GPU headroom, it’s one of the most rewarding settings to keep on.
If you share the rest of the graphics settings text (the part that cuts off after the ray tracing section), I can rewrite the full article end-to-end in the same style, including the complete optimized settings recommendations and the visuals-vs-performance takeaways for each option.Getting Resident Evil Requiem to look great on PC without wrecking performance comes down to choosing the handful of settings that genuinely move the needle. Below is a streamlined, practical set of recommendations that targets smooth gameplay, cleaner image quality, and strong lighting fidelity, while still respecting the limits of your GPU and VRAM.
Ray Tracing and Path Tracing (lighting fidelity)
Ray tracing is the big visual “wow” option here, but it scales hard with GPU power. If your graphics card is only barely meeting the recommended requirements, it’s smarter to turn ray tracing off to avoid drops and stutter.
If you’re running something around an RTX 4060 Ti 16GB or RX 7700 XT level, Ray Tracing on Normal is the sweet spot. If your GPU is closer to an RTX 5070 or RX 9070 tier, stepping up to High can be worth it.
Path tracing is in a different league. It’s only recommended if you have a seriously powerful setup, with RTX 4080 or RTX 5070 Ti-class performance as the minimum target. Also important: path tracing currently only works on NVIDIA RTX GPUs because the game relies on NVIDIA DLSS Ray Reconstruction for denoising.
Hair Strands (character hair quality)
This setting mostly matters in third-person camera gameplay and cutscenes. It can cost a noticeable chunk of performance, but it adds a lot to character presentation and immersion. Unless you’re fighting for frames, keep it enabled. Only disable it if you’re truly struggling.
Texture Quality (VRAM-dependent)
Texture Quality is primarily limited by VRAM, not raw GPU speed. As a rule:
Use Low if you have 6–8GB VRAM
Use Normal if you have 10GB VRAM
Use High if you have 12GB or more
One key warning: enabling any ray tracing mode increases VRAM usage. If you turn on ray tracing, you may need to drop texture settings below what your VRAM would normally allow to avoid stutters.
Texture Filter Quality (anisotropic filtering)
This is one of the easiest wins. The performance difference between low and high filtering is tiny on most modern GPUs, while the clarity improvement is noticeable (especially at angles). Set it to the maximum: X16 anisotropic filtering.
Anti-aliasing (jagged edges and shimmer control)
The game uses temporal anti-aliasing options (TAA, sometimes combined with FXAA). If you don’t like temporal upscaling and want a straightforward option, stick with TAA. If you enable an upscaler like DLSS or FSR, that choice will typically take over the anti-aliasing role anyway.
Mesh Quality (geometry detail)
This setting appears to govern geometric complexity. The recommended approach is to set Mesh Quality to Low, because it offers a meaningful performance boost versus Standard without a dramatic visual downgrade.
Screen Space Reflections (SSR)
SSR can noticeably improve presentation, especially on shiny surfaces, wet areas, and reflective interiors. Keep it ON unless performance is in crisis.
Subsurface Scattering (skin and translucent materials)
This affects how light passes through materials like skin. Low is the recommended setting because it lands a strong visuals-to-performance balance.
Lens Distortion
Lens distortion is mostly a stylistic “camera” effect. It can slightly impact performance, and many players prefer the cleaner look without it. Recommendation: OFF.
Depth of Field
Depth of field is most noticeable in cutscenes, creating cinematic focus blur. Keep it ON for the intended presentation, but if you dislike the effect, turning it OFF is a safe preference change.
Upscaling Technology (big performance lever)
Upscaling can dramatically boost framerate, but your best option depends on your GPU brand:
NVIDIA GeForce RTX: use DLSS Super Resolution
AMD pre-RDNA4: use FSR 3.1.5
AMD RDNA4: use FSR 4 (or FSR ML) through the GPU driver interface
Intel Arc: you’re limited to FSR 3.1.5 in this title, since an alternative upscaler isn’t included
If your GPU isn’t one of the above but meets minimum specs, FSR 3.1.5 is still the main option worth considering.
Frame Generation (smoothness vs latency trade)
Frame generation doesn’t increase true base performance in the traditional sense, but it can make gameplay look much smoother at the cost of some added latency and occasional artifacts. Because the experience is slower-paced and single-player-focused, it’s a good fit here. Enable it if your base framerate is already consistently 60 FPS or higher.
Particle Lighting
The cost is relatively low, and it helps small particles look more believable when lit by sources like flashlights. Keep it ON.
Volumetric Fog Resolution
Fog can be expensive at high settings, but it’s also important for atmosphere. Normal is the best overall visuals/performance choice.
Lens Dirt
This tries to mimic a dirty camera lens, but it can slightly reduce performance and often doesn’t improve the image in a meaningful way. Turn it OFF.
Lens Flare
Lens flare can look nice in some games, but here the performance hit doesn’t feel justified. Recommendation: OFF.
Shadow Quality
Shadow maps affect clarity and stability of shadows. High is the suggested balance for strong visuals without going overboard on cost.
Contact Shadows
This didn’t show major performance or visual swings in testing impressions, so leaving it ON is a safe recommendation.
Ambient Occlusion (grounding and depth)
Ambient occlusion adds soft shadowing in corners and creases and is key for a grounded look. Since performance differences between low and high are minimal, set Ambient Occlusion to High.
VFX Quality
Differences between Low and Standard don’t appear major for effects like blood splatter, and performance impact seems limited. Leave VFX Quality on Standard.
Final optimized graphics settings (recommended baseline)
Motion Blur: OFF (preference)
Ray Tracing:
Off if you’re near minimum/recommended limits
Normal: RTX 4060 Ti 16GB / RX 7700 XT level
High: RTX 5070 / RX 9070 level
Path Tracing: RTX 4080 / RTX 5070 Ti level (NVIDIA RTX only)
Hair Strands: ON (disable only if you need extra performance)
Texture Quality:
6–8GB VRAM: Low
10GB VRAM: Normal
12GB+ VRAM: High
Note: ray tracing increases VRAM use, so consider lowering textures if you see stutter
Texture Filter Quality: X16 anisotropic filtering
Anti-aliasing: TAA (upscaling may override)
Mesh Quality: Low
Screen Space Reflections: ON
Subsurface Scattering: Low
Lens Distortion: OFF
Depth of Field: ON (preference)
Upscaling:
NVIDIA RTX: DLSS Super Resolution
AMD pre-RDNA4: FSR 3.1.5
AMD RDNA4: FSR 4 / FSR ML via driver
Intel Arc: FSR 3.1.5
Frame Generation: ON if base FPS holds 60+
Particle Lighting: ON
Volumetric Fog Resolution: Normal
Lens Dirt: OFF
Lens Flare: OFF
Shadow Quality: High
Contact Shadows: ON
Ambient Occlusion: High
VFX Quality: Standard
If you share your GPU model, VRAM amount, target resolution (1080p/1440p/4K), and whether you care more about max visuals or stable FPS, I can tailor these settings into a tighter “best settings for your PC” preset.If you’re trying to get the best performance in Resident Evil Requiem on PC without sacrificing the look that makes the RE Engine shine, the good news is that smart settings tweaks go a long way. After extensive testing across both a high-end desktop and a more constrained gaming laptop, the takeaway is clear: optimized settings can noticeably improve frame rates and, more importantly, smooth out the experience, while keeping visual quality very close to maximum.
Recommended upscaling and frame generation setup
Upscaling can be one of the biggest performance multipliers in Resident Evil Requiem, and it’s also one of the easiest wins—especially if you’re aiming for a stable high refresh rate feel.
For Intel Arc GPUs, the best available in-game option is FSR 3.1.5 upscaling, since the game doesn’t include Intel’s XeSS upscaling support. For essentially every other supported GPU that meets the minimum requirements, FSR 3.1.5 is also a strong choice when you need extra performance while maintaining decent image quality.
Frame Generation can be a major boost, but it should only be enabled if your base frame rate is already consistently at or above 60 FPS. If you’re below that threshold, Frame Generation can amplify uneven frame pacing and make the game feel inconsistent instead of smoother.
Optimized graphics settings to improve FPS with minimal quality loss
Here’s the tuned configuration that delivered a better performance-to-visuals balance during testing (not using ray tracing):
FSR 3.1.5 upscaling (Intel Arc GPUs and other GPUs that meet minimum specs)
Frame Generation: enable only when base framerate is at least 60 FPS
Particle Lighting: ON
Volumetric Fog Resolution: Normal
Lens Dirt: OFF
Lens Flare: OFF
Shadow Quality: High
Contact Shadows: ON
Ambient Occlusion: High
VFX Quality: Standard
These changes are designed to reduce the heaviest costs while keeping the overall presentation sharp, atmospheric, and detailed—especially in motion, where many “ultra” settings provide diminishing returns.
Real-world performance gains: outdoors vs indoors
After locking in the optimized settings, performance testing was done in two scenarios: a demanding outdoor scene and a less demanding indoor scene.
In the outdoor test (the more GPU-stressing situation), optimized settings produced an 18% improvement to both average FPS and 1% low FPS versus max settings. That’s a meaningful jump because 1% lows often determine whether gameplay feels smooth during heavier moments.
In the indoor test, the gains were milder at around 13% for average FPS and 12% for 1% lows. There’s an important reason for that: indoor areas are significantly less GPU-heavy, and testing at 1440p became CPU-limited, so the comparison had to be done at 4K to better show GPU-side differences. Also worth noting: most of the game takes place in indoor environments, where performance tends to be better overall.
The practical recommendation is to combine these optimized settings with a suitable temporal upscaling mode to really maximize Resident Evil Requiem’s performance while keeping image quality high. If you also have a high refresh rate monitor, Frame Generation can help you take better advantage of it, provided you’re already holding a stable 60 FPS baseline with good frame pacing.
Laptop test results: why optimized settings matter even more
To see how well these settings scale down to more limited hardware, the same max vs optimized comparison (again, without ray tracing) was run on a gaming laptop with these key specs:
In a demanding outdoor opening scene, the optimized settings delivered a 23% increase in average FPS. Even more impressive, frame consistency improved dramatically: 1% lows rose by 66%, and 0.1% lows rose by 63%. Those low-percentile gains are what you actually feel—less hitching, fewer sudden dips, and a smoother traversal and combat experience.
Extra performance and visual tips you should know
Third-person view is more demanding than first-person
Performance drops when using the third-person camera, which makes sense because the full character model is rendered at all times. This can become especially expensive if Hair Strands (the more advanced hair simulation option) is enabled. If you’re hovering near your performance limit, switching to first-person or reducing hair-related options can help stabilize frame rates.
Potential Frame Generation frametime spikes
Testing on a very high-end desktop system showed somewhat frequent frametime spikes and stutters when Frame Generation was enabled. That suggests there may be optimization work still needed for frame pacing in certain configurations. If you notice inconsistent smoothness with Frame Generation on, try disabling it and retesting—especially until post-launch patches and updated GPU drivers mature.
Film grain appears forced (and difficult to disable)
The game includes a film grain effect that cannot be disabled through the graphics menu. A FilmGrainEnable setting was found in a config.ini file and was set to False during testing, but it did not successfully remove the effect. If you dislike film grain, this may be something to watch for in future patches, as an official toggle would be the cleanest fix.
Intel Arc owners: no XeSS support, consider alternatives
Because the game doesn’t support XeSS upscaling (and also lacks Intel frame generation options), Intel Arc users are limited to FSR 3.1.5 or even older upscaling alternatives. If you want sharper reconstruction and better temporal stability on Arc hardware, using a well-known upscaling injector tool such as OptiScaler may allow XeSS upscaling and Xe-based frame generation, improving overall image quality and performance feel compared with standard in-game options.
Overall verdict on PC optimization
Resident Evil Requiem stands out as a well-optimized PC release, especially compared to many modern AAA launches that struggle with stutter, shader compilation issues, or inconsistent performance across hardware tiers. With sensible settings adjustments—and careful use of upscaling and frame generation—the game can run smoothly while still looking excellent, even on mid-range systems that meet recommended specs. The most punishing setting remains path tracing, which can cause noticeable drops in the heaviest scenes, but outside of that, the performance profile is strong and stable.
If you want, share your PC specs and target resolution (1080p/1440p/4K), and I can tailor these settings into a “locked 60,” “high refresh,” or “best image quality” preset for Resident Evil Requiem.