Resizable BAR, often shortened to ReBAR, is a newer PCI Express feature that can help your PC squeeze more performance out of your graphics card in certain games. Instead of limiting the CPU to a small 256 MB window of GPU memory like older systems did, ReBAR can let the processor access the full VRAM frame buffer directly. When everything is supported and configured correctly, this can reduce CPU-to-GPU data transfer bottlenecks and lead to smoother, more consistent gameplay in some titles.
All three major GPU makers support the same underlying PCIe standard, but they handle it differently. AMD popularized it under the name Smart Access Memory and typically offers a simple global on/off toggle inside its driver software when your BIOS supports it. Intel’s Arc GPUs also support ReBAR, and in many cases it’s essential for them to deliver their expected performance. NVIDIA supports ReBAR starting with GeForce RTX 30 Series cards (Ampere and newer), but there’s an important catch: NVIDIA usually enables it only for specific games they’ve tested and approved. That’s why you may see ReBAR working in one title but not another, even on the same PC.
Because NVIDIA manages ReBAR on a per-game basis, some advanced users choose to manually force it on for games that aren’t officially enabled by the driver. This can sometimes improve frame pacing or boost FPS, but it can also cause the opposite—performance drops, stutters, or instability—if the game engine doesn’t benefit from it. If you’re the type who likes to benchmark and tune, forcing ReBAR can be worth experimenting with, as long as you do it carefully and test your results.
What to check before you try forcing ReBAR
Before any driver-level tweaks matter, your system has to support ReBAR at every level: GPU, VBIOS, CPU, motherboard, BIOS settings, and operating system boot configuration. If one piece is missing, forcing settings in a utility won’t magically make it work.
At a minimum, you’ll need:
1) An NVIDIA GeForce RTX 30 Series (or newer) GPU with a VBIOS that supports ReBAR.
2) A compatible CPU and motherboard platform (commonly Intel Core 10th Gen or newer, or AMD Ryzen 3000 Series or newer, assuming the board and BIOS support it).
3) A motherboard UEFI BIOS that actually exposes ReBAR options.
In most motherboard BIOS setups, enabling ReBAR typically involves:
– Disabling CSM (Compatibility Support Module) so the PC boots in pure UEFI mode
– Enabling “Above 4G Decoding”
– Enabling “Resizable BAR” / “Re-Size BAR Support” (this option may only appear after turning on Above 4G Decoding)
On the Windows side, you’ll want a modern Windows 10 or Windows 11 installation running in UEFI mode (GPT partition style, not legacy MBR). Keeping your motherboard BIOS and chipset drivers up to date also helps prevent weird compatibility issues.
After you’ve configured everything, a GPU information utility can be used to confirm whether ReBAR is truly active on your system and to verify that all prerequisites are satisfied. Don’t skip this validation step—many “it doesn’t work” situations come down to one missing BIOS toggle or a system still running in legacy boot mode.
How to force Resizable BAR in NVIDIA drivers for a specific game
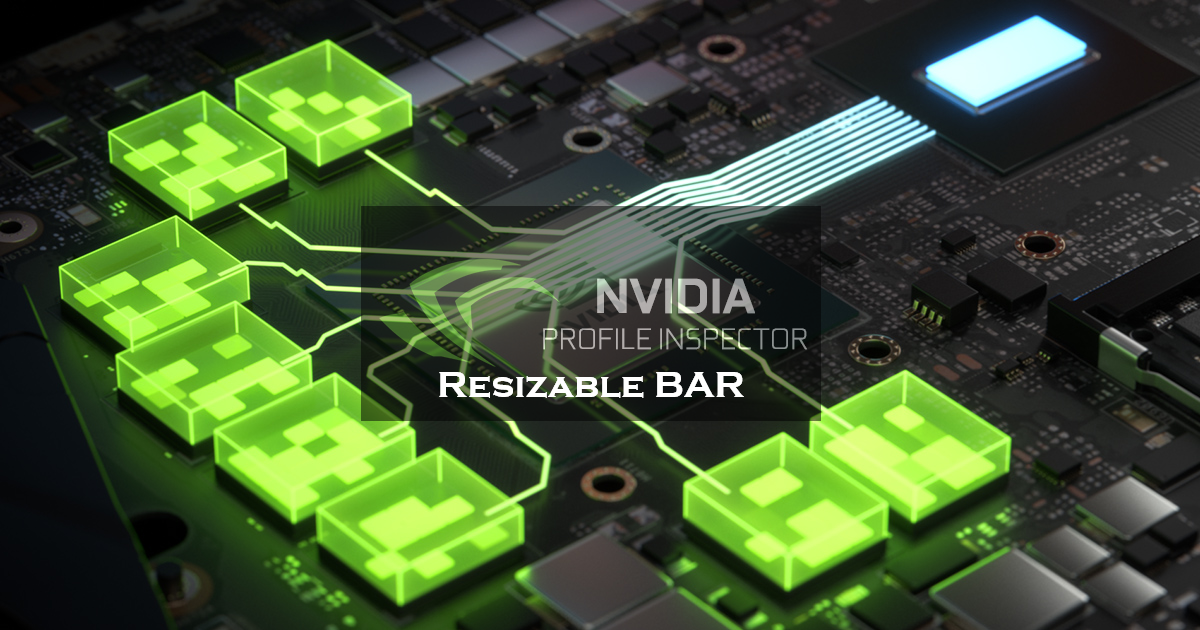
If your hardware and BIOS are ready and ReBAR is confirmed as supported, you can use NVIDIA Profile Inspector to enable driver-side ReBAR flags for individual games. This is the key advantage of doing it per title: you can test one game at a time, measure results, and roll back quickly if something feels worse.
1) Get NVIDIA Profile Inspector
NVIDIA Profile Inspector is a lightweight, portable utility used to view and edit hidden NVIDIA driver profile settings, including the ReBAR controls. After downloading it, extract the ZIP file somewhere convenient, then run nvidiaProfileInspector.exe as administrator.
If the program prompts you for a .NET Framework requirement, install the requested version (commonly .NET Framework 4.0 or newer) and then launch the tool again.
2) Find the game profile you want to edit
At the top left, you’ll see a “Profiles” dropdown. This can be searched by typing a game name. The tool also shows a global base profile, but it’s best not to change global settings unless you’re absolutely sure what you’re doing. Forcing ReBAR globally can create problems in games that don’t benefit from it.
Search for the exact game you want to test. If the title isn’t listed, you may need to create a dedicated profile for it (the goal is to avoid tweaking the global profile).
3) Enable the main ReBAR flag for that game
Once the game’s profile is selected, use the setting search field (the one under the main toolbar area) and type “ReBAR” to quickly locate all related options.
Look for:
– rBAR – Enable
Set it to “Enabled,” then click “Apply changes” in the top-right area of the tool. Close the program afterward.
That’s the core step. From here, the real work is testing whether the change actually helps: run the game, compare performance, and watch for new stutters, crashes, or strange behavior.
Understanding the other ReBAR-related settings you may see
When you search “ReBAR,” you’ll likely notice additional flags besides the main enable switch. NVIDIA uses these to fine-tune behavior for certain systems and certain games. In many cases you should leave them alone at first and only experiment if you’re benchmarking carefully.
Common ReBAR-related flags you may see include:
– Intel CPU exclusion: Prevents ReBAR from being enabled on specific Intel CPUs that can have issues in certain games. If you’re on an Intel platform and run into instability after forcing ReBAR, this is one area to revisit—otherwise, leave it as-is.
– Options: A helper setting that can be required to fully enable ReBAR behavior in some cases.
– Size Limit: Controls how large the VRAM window is that the CPU can access at once. Larger values can sometimes help performance or reduce ReBAR-related stutter in some games, but the best setting varies by title and system.
If you decide to experiment with these, change only one thing at a time and keep notes. It’s very easy to “lose” the best configuration if you tweak several settings at once.
Save your custom profile so driver updates don’t wipe your work
One practical downside of custom driver profile tweaks is that driver updates can reset or overwrite internal profile data. To avoid redoing everything every time you update your GPU driver, export your adjusted game profile to a .nip file inside NVIDIA Profile Inspector.
Use the export function (commonly represented by a floppy disk icon with an upload arrow), choose “Export current profile only,” and save the .nip file somewhere you’ll remember. Later, if an update resets your tweaks, you can re-import that profile rather than manually setting everything again.
The bottom line: forcing ReBAR can be a useful performance tweak, but only when your system is fully compatible and only when you verify results per game. Treat it like a benchmarking experiment, not a guaranteed upgrade—test carefully, and keep a saved profile so you can always revert or reapply your best settings.Resizable BAR (ReBAR) is one of those “free performance” tweaks that can genuinely move the needle in certain PC games—especially titles that stream lots of data, load detailed open worlds, or constantly shuttle assets between the CPU and GPU. If you’re using an NVIDIA GeForce RTX 30 Series GPU or newer, you can sometimes enable ReBAR in games that NVIDIA hasn’t officially turned it on for by default. The most popular way to do that is through NVIDIA Profile Inspector, which exposes the driver’s internal game profile database and lets you adjust hidden flags on a per-game basis.
The key thing to understand is that NVIDIA’s driver profiles can change from one driver update to the next. That’s why it’s smart to save and back up your custom profiles—then you can quickly restore them later instead of rebuilding everything after an update. It also explains why some people can’t see certain ReBAR options: older builds of Profile Inspector may not display newer flags, so if ReBAR settings are missing, updating to the latest build is often the fix.
If the game you want to tweak doesn’t show up in the profile list, you can still set it up manually by creating a new profile and attaching the game’s executable. In NVIDIA Profile Inspector, you’ll create a new profile, name it, then use the option to add an application to the current profile. After you browse to the game’s .exe, confirm it appears in the application list (you should see it clearly listed in the interface), then commit everything by hitting Apply changes. At that point, you’re ready to launch the game and test performance.
ReBAR OFF vs ON: Real benchmark results
To see what forcing ReBAR on can do in actual games, benchmarks were captured with CapFrameX using three meaningful metrics: Average FPS (overall speed), 1% low average FPS (common dips), and 0.1% low average FPS (rare but noticeable spikes and hitchy moments). Those low metrics matter because they often reflect smoothness and consistency, not just the headline framerate.
Testing was done on two up-to-date Windows 11 systems with fully updated BIOS, drivers, and game installs:
Settings were chosen to keep benchmarks GPU-limited (where ReBAR is most likely to matter), and each result was averaged over three runs to reduce run-to-run variance.
Dying Light: The Beast (desktop)
In this title, enabling Resizable BAR paid off clearly across the board. Average FPS improved by 6%, 1% lows jumped by 27%, and 0.1% lows improved by 17%. That combination is the ideal scenario: higher overall performance plus fewer sharp drops, which typically translates to smoother traversal and fewer sudden stutters when the game is streaming assets or loading complex scenes.
Assassin’s Creed Shadows (desktop)
Here, the outcome was mixed. Average FPS rose by 9%, but 1% lows didn’t really move, and 0.1% lows actually dropped by 6%. This is a good reminder that ReBAR doesn’t always boost every metric at once—sometimes the average goes up while the worst frametime spikes get slightly worse. Depending on your sensitivity to micro-stutter, that tradeoff may or may not be worth it.
Marvel’s Spider-Man 2 (desktop and laptop)
This game showed how much system-to-system behavior can differ.
On the desktop (RTX 4090), ReBAR delivered a modest 4% average FPS gain, 1% lows stayed about the same, and 0.1% lows dropped by a noticeable 12%. That suggests the top-end system gained a bit of speed but lost some consistency during the worst frametime moments in the tested scenario.
On the laptop (RTX 4060 Laptop GPU), the results were far more positive: Average FPS improved by 8%, 1% lows rose by 13%, and 0.1% lows improved by 15%. In other words, the laptop not only got faster—it also got smoother.
There was also an additional test layering a GPU overclock on top of ReBAR on the laptop, pushing performance improvements into double-digit territory for all three metrics. That said, overclocking always comes with its own stability and heat considerations, so it’s not something to do casually without proper testing.
Why results vary so much
Resizable BAR can be a great match for engines that benefit from more flexible CPU-to-GPU memory access patterns, especially in demanding games with heavy texture streaming and large world data. But your mileage can vary widely depending on CPU generation, platform quirks, GPU architecture and VRAM configuration, graphics settings, and even the exact area or scene used for testing. That’s why it’s essential to benchmark your own machine using repeatable gameplay loops and your real settings—not just someone else’s chart.
Potential drawbacks and risks of forcing ReBAR
Manually enabling ReBAR in games that aren’t officially validated can cause genuine problems. In testing, Ratchet & Clank: Rift Apart froze and locked up with ReBAR forced on, requiring a rollback of the profile changes to restore stability. Reports from other PC enthusiasts describe similar behavior, and it may be tied to interactions with features like DirectStorage.
In ELDEN RING, ReBAR introduced noticeable hitches and stutters in specific combat situations (including encounters involving respawning skeleton enemies), echoing community reports that certain events or locations can become less smooth with ReBAR enabled.
Battlefield 6 (open beta) showed a memory leak after ReBAR was forced on. Interestingly, the game was later officially whitelisted for ReBAR and then that support was seemingly pulled back—suggesting that once broader testing uncovered issues, enabling it by default wasn’t worth the risk.
More broadly, users sometimes report stuttering, regressions, or instability depending on the combination of BIOS settings, drivers, and individual game engines. NVIDIA tends to whitelist ReBAR only for titles they’ve validated for a reason: it helps avoid these edge cases.
Bottom line
Resizable BAR is a subtle but potentially powerful performance optimization. When it works well, it can boost average FPS and improve frametime consistency without upgrading any hardware. If you have an RTX 30 Series (or newer) GPU and you’re comfortable experimenting, NVIDIA Profile Inspector gives you the ability to test ReBAR in games where it isn’t enabled by default.
Just treat it like any serious performance tweak: benchmark before and after using metrics like Average FPS, 1% lows, and 0.1% lows, and be prepared to revert settings if you spot crashes, freezes, stutters, or strange behavior. The best approach is simple: test, measure, and keep what actually improves your specific setup.